Behind The Design: The Miller Project
Welcome back! This week we will be covering the details on how one of our most recent renovation projects came to life. Renovations can be full of surprises and require us to pivot quickly. This 1920’s home got a major modern makeover, including a fully gutted new floor plan with raised ceilings, new flooring, cabinetry, lighting the works! Watching this home transform has been such a joy and we wanted to share a few step-by-step phases on how we approach our renovation projects from a design perspective.
CONCEPT MOOD BOARD
First and foremost after our inital consult, each project begins with a themed concept mood board to give our clients a specific design look and feel. For this project, the client wanted to go with something a bit modern transitional and was set to ensure we featured white oak in the design. Check out this concept mood board we created for our client.
MATERIAL SELECTIONS
After we settle on the overall floor plan changes & decide on the design direction, we curate and present all material selections for the project. Our clients can touch / feel items prior to final approval in an in-person sample review meeting. This step is also critical to make sure all of the design elements blend cohesively and that the quality of the materials are exactly how we envision them to be.
3D RENDERINGS
We also offer detailed drawings and 3D renderings to give our clients a final feel for the space, before demo and installations begin. Offering a 3D visual really helps our clients envision the overall look and feel. We find this step very beneficial to our clients and an easy place to make revisions if necessary. Check out a few of the 3D renderings we created for the kitchen and dining space as well as the guest bathroom for this home.
DEMO + INSTALLATIONS
It always gets ugly before it gets pretty! After the client approves everything we proceed with the demo and installation of materials for the home. This is where we typically can face the most delays for a multitude of reasons. We could face back order issues from vendors, and contractor delays, you name it! For this specific project, the demo to final completion was about 5 months.
Check out a few progress site visit photos to see this primary bath come to life!
EXTERIOR BEFORE & AFTER
KITCHEN BEFORE & AFTER
PRIMARY BATH BEFORE & AFTER
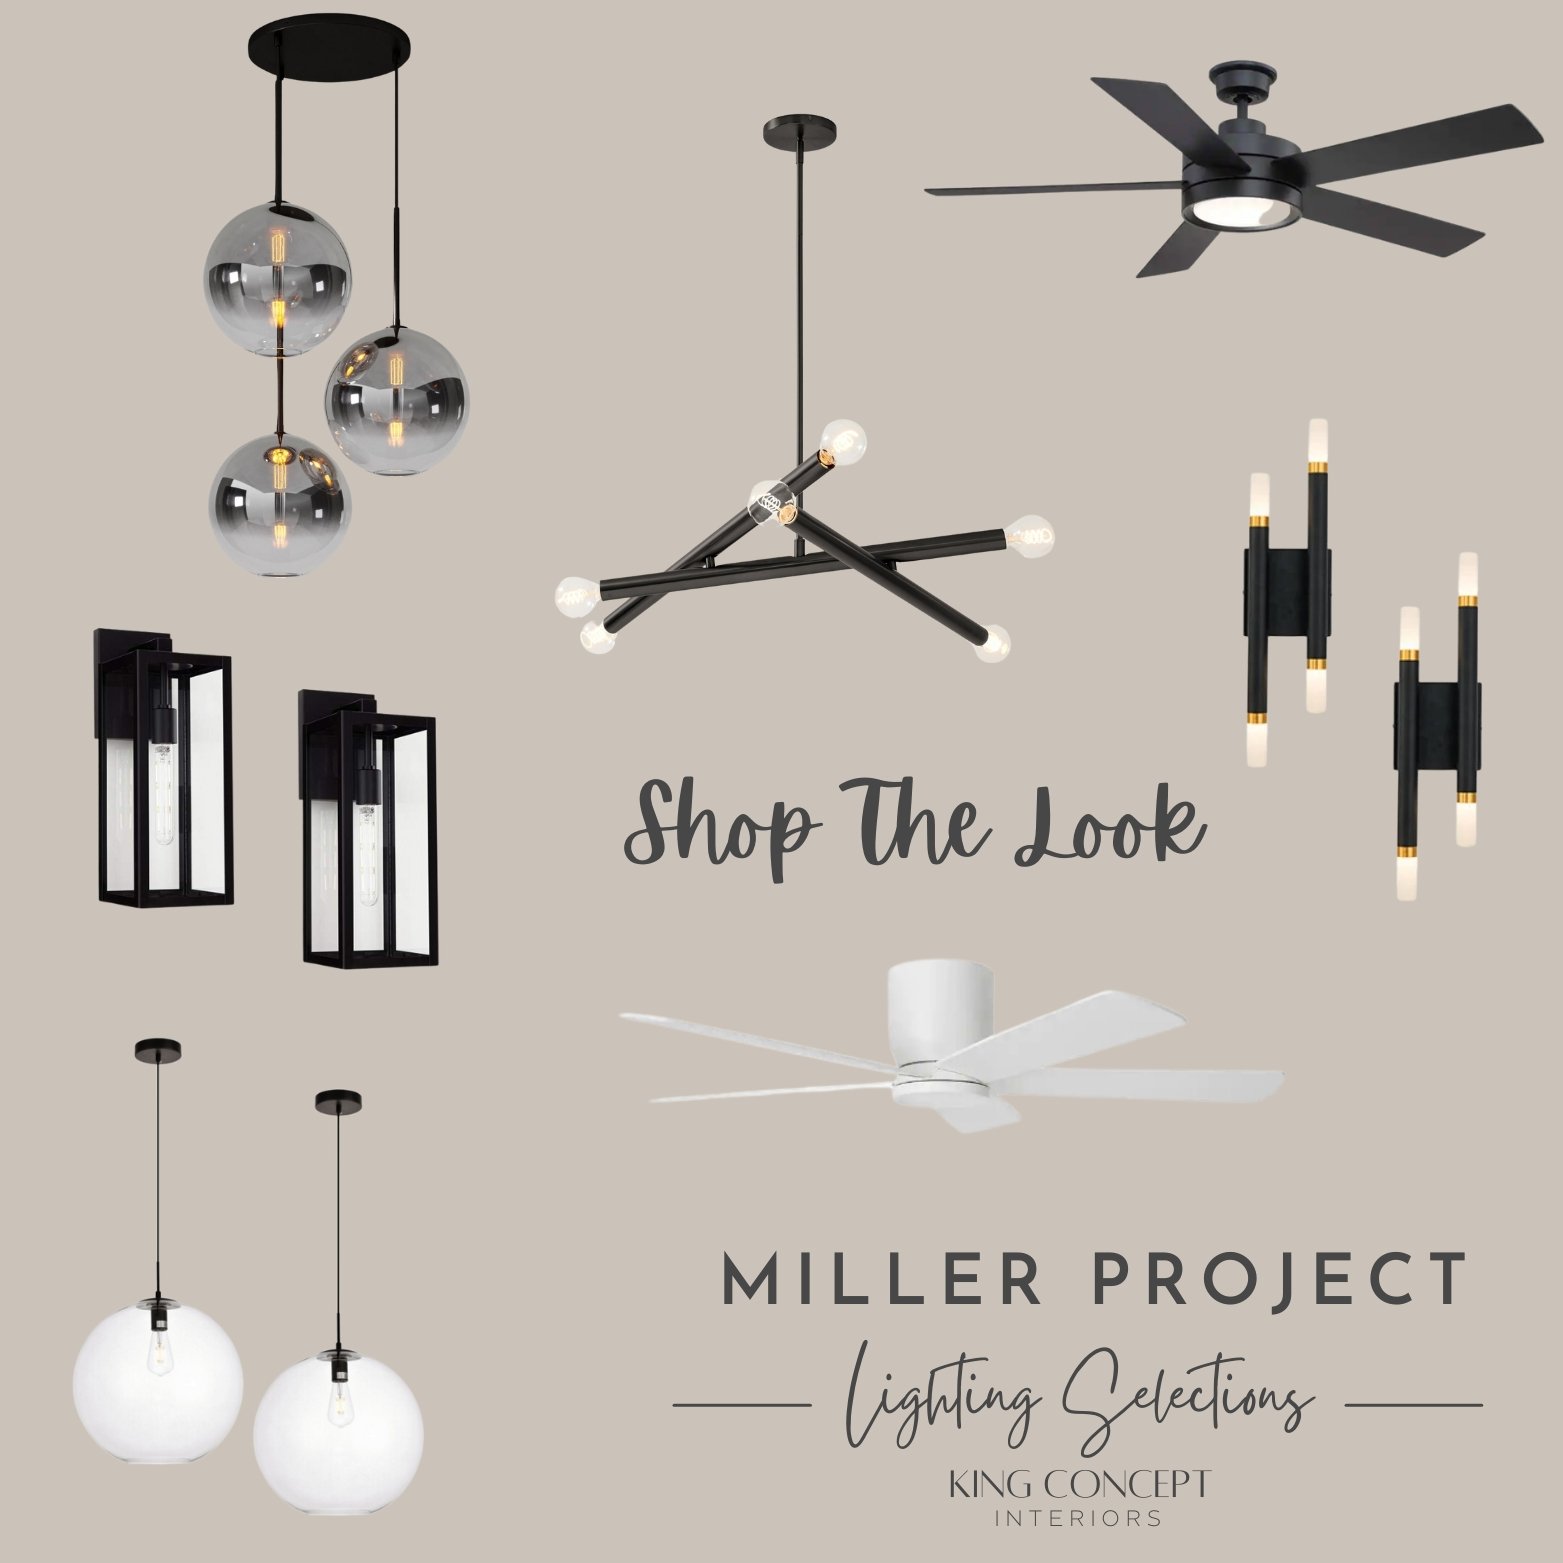
SHOP THE LOOK!
We are always on the hunt for both affordable and trendy lighting fixtures - especially when it comes to a renovation project! Stylish lighting fixtures can be achieved without having to break the bank. Check out our decorative lighting selections from this project HERE.
That’s a wrap on this project! As always thank you for for joining our bi-weekly blog! We hope you enjoyed seeing a little of the behind the scenes work and a snippet of what goes into a renovation project. Until next time!
XOXO - Monica King of King Concept Interiors


